When you’re out in the great outdoors, a leaky water bladder can quickly turn a pleasant hike or camping trip into a frustrating ordeal. But fear not! In this guide, we’ll show you how to fix a leaky water bladder on the go.
Drawing from our expertise and practical experience, we’ll provide you with step-by-step instructions and tips to ensure you stay hydrated without a hitch.
| Takeaways |
|---|
| 1. Fixing a leaky water bladder is a valuable skill for outdoor enthusiasts. |
| 2. Understanding your water bladder and identifying leaks promptly are essential steps. |
| 3. Quick fixes like using duct tape and emergency patch kits can temporarily solve the issue on the trail. |
| 4. For a more lasting solution, clean the bladder, find the leak, apply patches, and test for leaks. |
| 5. Prevent leaks by handling your bladder carefully, inspecting it regularly, and using protective sleeves. |
| 6. Proper hydration is crucial outdoors; start early, sip regularly, and balance water and electrolytes. |
| 7. Knowing when to replace your water bladder is key to maintaining reliable hydration. |
| 8. Real-life user stories highlight the importance of preparedness when facing water bladder mishaps. |
| 9. Enjoy outdoor adventures with confidence, knowing you can handle common water bladder challenges. |
Understanding the Water Bladder
Before we dive into the fixes, let’s take a moment to understand what a water bladder is and how it works. A water bladder, also known as a hydration reservoir, is a flexible container designed to hold liquids, commonly used in outdoor activities like hiking, biking, and camping. These bladders come equipped with a hose and a mouthpiece for convenient sipping while on the move.
When venturing into the wilderness, it’s crucial to know survival tips for purifying water. From boiling to filtration, these methods ensure a safe water source, enhancing your outdoor experience.
Identifying the Leak
The first step in solving any problem is identifying it. A leaking water bladder can be caused by various factors, such as punctures, wear and tear, or manufacturing defects. You might notice dampness on your gear or feel the water bladder becoming lighter than it should be. In some cases, it’s a slow and frustrating drip that signals the issue. Once you’ve confirmed a leak, it’s time to gather the tools and materials you’ll need.
Tools and Materials You’ll Need
Fixing a leaky water bladder requires a few essentials in your repair kit. Here’s a quick checklist:
| Item | Purpose |
| Repair Patch or Kit | To seal the leak |
| Rubbing Alcohol | For cleaning and prepping the area |
| Duct Tape | An emergency fix |
| Scissors | For cutting patches and tape |
| Lighter or Heat Source | For heating and sealing some patches |
| Clean Cloth or Towel | To dry the bladder |
| Replacement Bite Valve | If damaged or worn out |
Quick Fixes on the Trail
Using Duct Tape

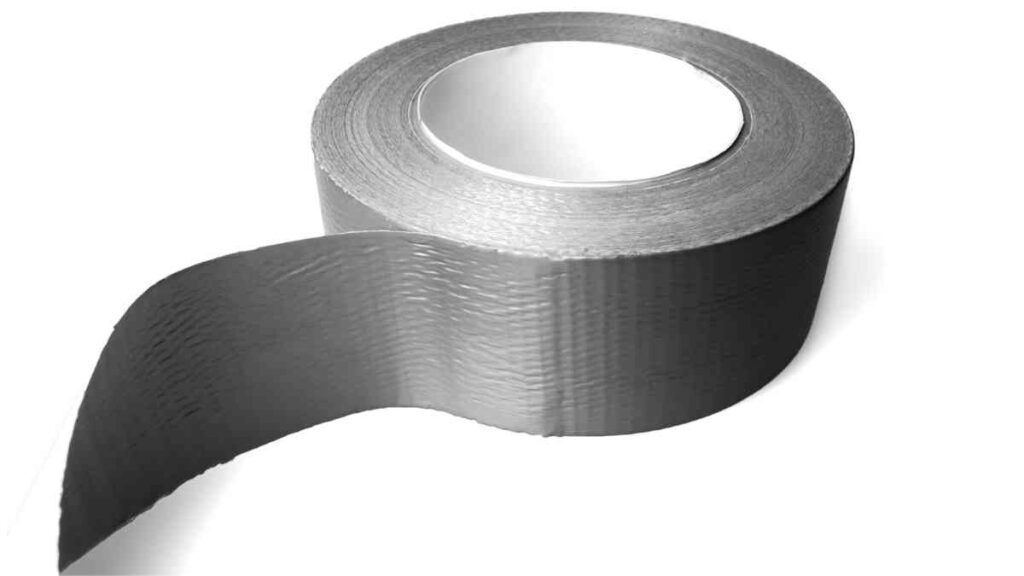
Duct tape is your best friend when you’re miles away from civilization and need a quick, temporary fix. Clean and dry the affected area, then apply a strip of duct tape over the leak. Press it firmly to ensure a good seal. While this fix won’t last forever, it should get you through the rest of your adventure.
Explore the expertise behind water purification with the top 15 methods. From UV treatment to chemical solutions, this comprehensive guide equips you for any survival scenario with clean and safe water.
Emergency Patch Kits
Consider carrying a compact emergency patch kit in your gear. These kits contain adhesive patches specially designed for water bladders. Clean the area around the leak, apply the patch, and press firmly. It’s a more durable solution than duct tape but still intended as a temporary fix.
Boiling Water Method

This method is for emergency situations when you don’t have any repair materials on hand. Heat water to a near-boiling point and carefully pour it over the leaking area. The heat will cause the bladder material to expand and potentially seal the leak temporarily. Be cautious not to scald yourself.
Alternative Containers
If none of the above options work or you’re worried about a recurring leak, consider transferring your water into a backup container, such as a water bottle or another bladder if you have one. This solution can help you avoid further inconvenience during your outdoor activity.
Building a shelter is a critical skill, but avoid common mistakes to ensure its effectiveness. Learn the nuances of construction, materials, and design to create a shelter that stands resilient in challenging conditions.
Comprehensive Repair at Home
Cleaning the Bladder
Before attempting a comprehensive repair, thoroughly clean your water bladder. Rinse it with warm, soapy water and use a bottle brush to reach inside. Rinse again to ensure no soap residue remains.
Finding the Leak
Fill the bladder with water, and gently squeeze it while looking for the leak. If you spot a small stream of water or bubbles escaping, you’ve found the culprit. Mark the area for repair.
In survival situations, being seen is paramount. Discover how to address and prevent emergency signal failures. From signaling devices to visual cues, master the art of communication to enhance your chances of rescue.
Applying the Patch
Using a repair patch or kit from your supplies, follow the manufacturer’s instructions to apply the patch. Typically, it involves cleaning the area with rubbing alcohol, applying the patch, and ensuring a tight seal. Use scissors to trim excess material.
Testing for Leaks
After applying the patch, fill the bladder with water and check for leaks. Ensure that the repaired area is secure, and no water escapes. Let it sit for a while to be certain.
Preventing Future Leaks Prevention is key to avoiding future leaks. Here are some tips:
| Tip | Description |
| Handle with Care | Be gentle with your bladder to prevent punctures |
| Avoid Sharp Objects | Keep bladder away from sharp rocks and objects |
| Regularly Inspect and Clean | Check for wear and tear, clean it regularly |
| Use a Bladder Sleeve | Protect your bladder with a sleeve or pack it carefully |
| Keep It Dry | Store it properly to prevent moisture buildup |
Maintaining Your Water Bladder
To ensure your water bladder serves you well for a long time, follow these maintenance tips:
| Maintenance Task | Frequency |
| Regular Cleaning | After each use |
| Deep Cleaning | Every 4-6 uses |
| Bite Valve Cleaning | Weekly |
| Inspect for Wear and Tear | Before each trip |
| Lubricate the Seal | As needed |
Hydration Tips for Outdoor Enthusiasts
Staying hydrated is crucial when you’re out exploring nature. Here are some hydration tips to keep in mind:
| Hydration Tip | Description |
| Start Hydrating Early | Begin drinking water before you feel thirsty |
| Sip Regularly | Take small sips to stay consistently hydrated |
| Balance Water and Electrolytes | Consider electrolyte supplements for long hikes |
| Monitor Urine Color | Aim for pale yellow; dark urine may indicate dehydration |
| Know Your Body | Everyone’s hydration needs vary, so pay attention to your body |
Expert Advice: When to Replace a Bladder To maintain a leak-free and reliable water bladder, it’s essential to know when it’s time for a replacement. Expert hikers and outdoor enthusiasts recommend replacing your bladder under the following circumstances:
Combatting hypothermia involves more than warmth. Familiarize yourself with signs you’re missing and proactive measures. Learn to navigate temperature extremes and prioritize insulation, ensuring your body stays protected in challenging environments.
| Indicators | Description |
| Frequent Leaks | If you’re patching it often, it’s time for a new one |
| Lingering Odors | Persistent odors may indicate mold or bacteria buildup |
| Visible Wear and Tear | Cracks, holes, or weakening of the bladder material |
| Altered Taste | If your water tastes off, the bladder may be degrading |
| Unresponsive Bite Valve | If it doesn’t function correctly after cleaning |
User Stories: Real-Life Water Bladder Mishaps
Let’s hear from fellow outdoor enthusiasts who’ve encountered water bladder mishaps and how they managed them:
Story 1: Sarah’s Trail Triumph
Sarah, an experienced hiker, shared her story of a leaky bladder during a challenging mountain trek. She used a combination of duct tape and an emergency patch kit to keep going until she reached her destination. Sarah emphasizes the importance of carrying repair supplies, even on short hikes.
Story 2: Mike’s Overnight Odyssey
Mike, a camping enthusiast, faced a frustrating situation when his water bladder developed a leak during an overnight camping trip. Luckily, he had a spare bladder with him, avoiding any hydration-related emergencies. Mike highlights the value of preparedness in the outdoors.
Final Thoughts
Fixing a leaky water bladder on the go is a valuable skill for any outdoor enthusiast. With the right tools, knowledge, and a bit of ingenuity, you can overcome this common challenge and continue enjoying your adventures without interruptions.
Remember, prevention is key. Treat your water bladder with care, inspect it regularly, and follow maintenance guidelines. When it’s time to replace it, do so promptly to ensure your hydration remains reliable.
In the world of outdoor activities, a leaky water bladder is just a minor hiccup on your journey. Stay hydrated, stay safe, and keep exploring the great outdoors!
15. FAQs
Q1: Can I use super glue to fix a water bladder leak? A1: While super glue may provide a temporary fix, it’s not recommended for long-term repairs. It’s best to use dedicated repair patches or kits designed for water bladders.
Q2: How can I prevent mold in my water bladder? A2: To prevent mold, thoroughly clean and dry your water bladder after each use. Store it in a cool, dry place with the cap off to allow for ventilation.
Q3: Can I use a water bladder for hot beverages like tea or coffee? A3: It’s not recommended to use water bladders for hot beverages, as the heat can damage the bladder material and affect the taste of your drinks. Stick to cold or room-temperature liquids.
Q4: How often should I replace the bite valve on my water bladder? A4: Replace the bite valve if it becomes worn, damaged, or unresponsive. You can also clean it regularly to extend its lifespan.
In conclusion
mastering the art of fixing a leaky water bladder on the go is a valuable skill for outdoor enthusiasts of all levels. With a combination of expertise, practical experience, and the right tools, you can tackle this common challenge and ensure uninterrupted hydration during your adventures.
Understanding your water bladder is the first step, and identifying leaks promptly is crucial. We’ve provided you with a comprehensive guide on quick fixes you can implement while out on the trail, including using duct tape, emergency patch kits, and even the boiling water method when resources are limited.
For a more thorough repair, we’ve walked you through the steps of cleaning the bladder, finding the leak, applying patches, and testing for leaks. This comprehensive approach ensures a more long-lasting solution to your water bladder woes.
Prevention is key to avoiding future leaks, and we’ve shared essential tips, such as handling your bladder with care, inspecting it regularly, and using protective sleeves or packs. Keeping your water bladder dry and following a maintenance schedule will also extend its lifespan.
We’ve offered valuable advice on staying properly hydrated while enjoying the great outdoors, emphasizing the importance of early hydration, balanced water and electrolyte intake, and understanding your body’s unique hydration needs.
Additionally, we’ve provided expert guidance on when it’s time to replace your water bladder, with indicators like frequent leaks, lingering odors, visible wear and tear, altered taste, and an unresponsive bite valve.
To make the information more relatable, we’ve shared user stories from fellow outdoor enthusiasts who’ve faced water bladder mishaps and successfully managed them, highlighting the importance of preparedness.
Further Reading
- iFixit Guide: Hydration Bladder Leak Repair A comprehensive guide from iFixit that provides step-by-step instructions and visual aids for repairing leaks in hydration bladders.
- Hunting Waterfalls: Fix a Hole in Your CamelBak Bladder This article on huntingwaterfalls.com offers practical tips and insights on fixing holes in CamelBak bladders, a popular brand of hydration systems.
- Ozmo: How to Patch a Hydration Bladder – A Simple Guide Ozmo.io presents a straightforward guide on patching hydration bladders, focusing on simplicity and effectiveness for outdoor enthusiasts.
FAQs
How do I identify a leak in my water bladder?
To identify a leak in your water bladder, fill it with water, gently squeeze it, and look for water escaping. Bubbles or a stream of water near a specific area indicate a leak.
Can I use super glue to repair a water bladder leak?
While super glue may provide a temporary fix, it’s not recommended for long-term repairs. It’s best to use dedicated repair patches or kits designed for water bladders.
How often should I replace the bite valve on my water bladder?
Replace the bite valve if it becomes worn, damaged, or unresponsive. You can also clean it regularly to extend its lifespan.
Is it safe to use a water bladder for hot beverages like tea or coffee?
It’s not recommended to use water bladders for hot beverages, as the heat can damage the bladder material and affect the taste of your drinks. Stick to cold or room-temperature liquids.
What should I do if I can’t repair my water bladder on the trail?
If you can’t repair your water bladder while on the trail, consider transferring the remaining water into an alternative container like a water bottle or another bladder if available. This will ensure you stay hydrated during your outdoor activity.

Hi! I’m Hellen James, and I am the founder of Unified Survival. I have a deep passion for the wilderness and everything that goes along with it. I’ve been hiking since I was a child, and I grew up camping in state parks all over the country. But it wasn’t until recently that I learned how to survive in the wilderness.

