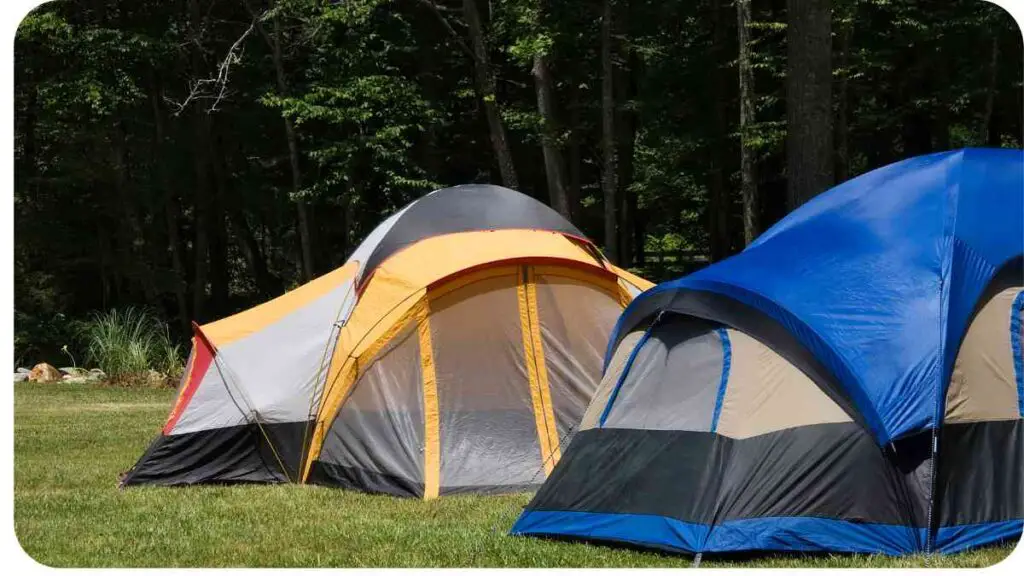
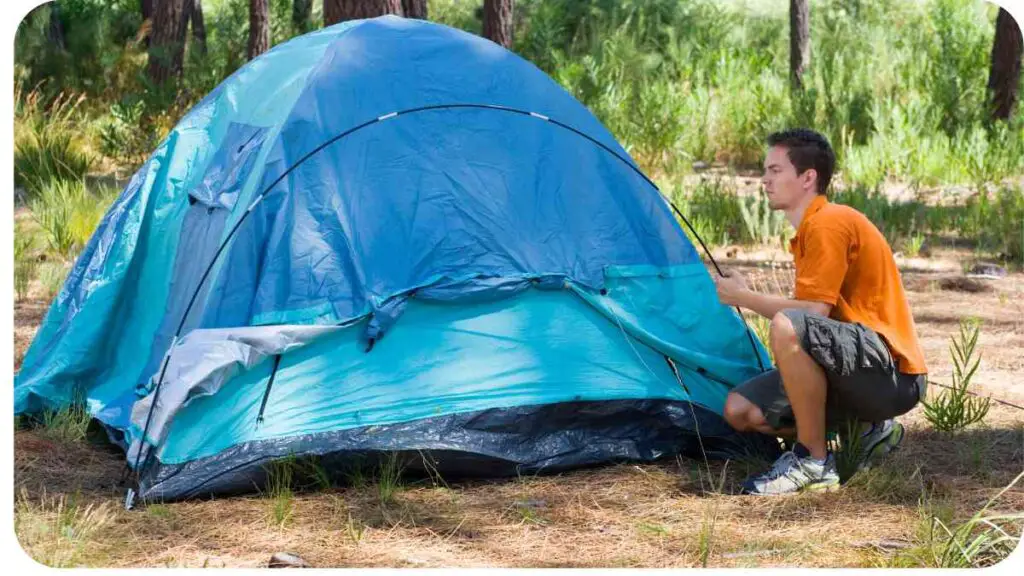
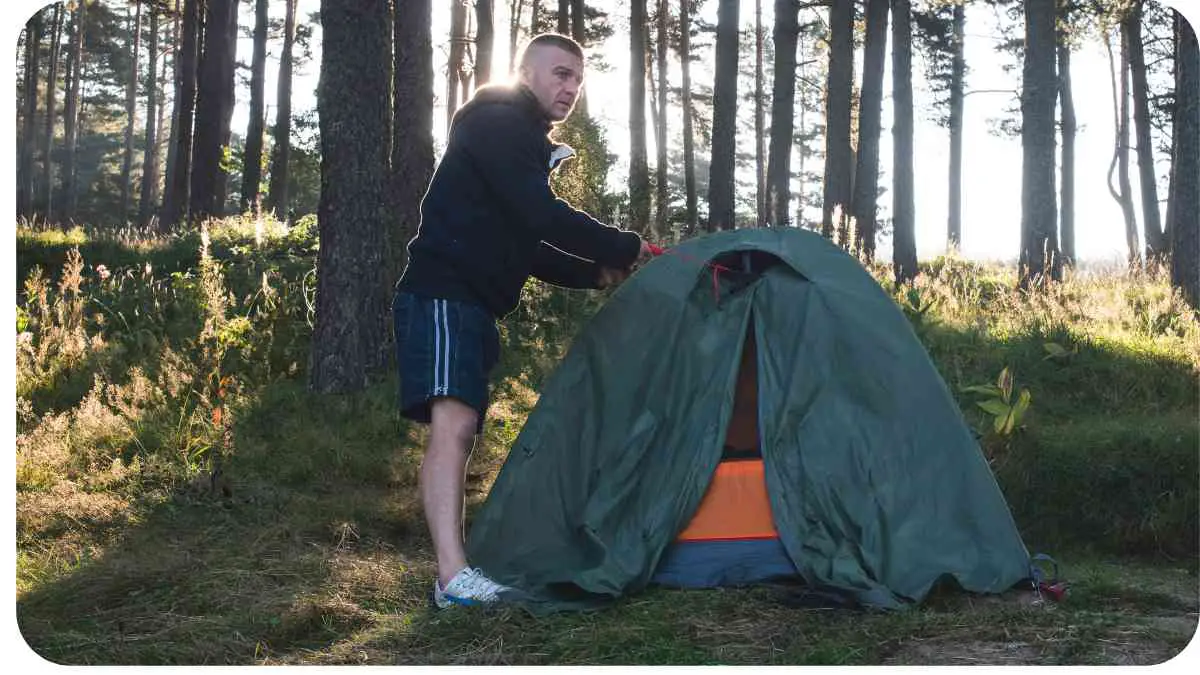
Are you tired of waking up in a wet sleeping bag during your camping trips? Tent leaks can turn a dreamy outdoor adventure into a soggy nightmare. But fear not! In this comprehensive guide, we will delve into the world of tent waterproofing. I’m John William, a seasoned outdoor enthusiast with years of camping experience. I’ve battled tent leaks and conquered them, and now I’m here to share my expertise with you.
| Takeaways |
| 1. Understand the causes of tent leaks. |
| 2. Learn quick fixes to keep your tent dry. |
| 3. Prioritize regular tent maintenance. |
| 4. Consider upgrading your tent when necessary. |
| 5. Explore further resources for in-depth advice. |
2. Why Does Your Tent Leak?

Before we jump into the quick fixes, let’s understand why your tent might be leaking in the first place. Here are some common reasons:
When venturing outdoors, mastering shelter construction is crucial. This comprehensive guide offers step-by-step instructions on creating sturdy shelters, ensuring you stay dry and safe during your wilderness adventures.
| Issue | Cause |
| Condensation | Temperature differences inside and outside |
| Seam Leaks | Poorly sealed seams |
| Fabric Degradation | Aging materials |
| Poor Rainfly Attachment | Incorrect setup |
| Groundwater Seepage | Inadequate ground tarp |
| Site Selection | Choosing a low-lying or exposed campsite |
| Neglected Maintenance | Wear and tear |
| Tears and Holes | Accidental damage |
| Inferior Tent Quality | Low-quality materials |
Understanding the root cause is the first step towards a dry and comfortable camping experience.
3. Quick Fix #1: Seal the Seams
One of the most common culprits of tent leaks is poorly sealed seams. These seams can allow water to seep through the stitching. Here’s what you need to do:
| Step | Action |
| Check Seams | Inspect all seams for signs of wear |
| Seam Sealing Kit | Purchase a seam sealing kit |
| Apply Seam Sealant | Carefully apply sealant to damaged areas |
| Dry Thoroughly | Let it dry completely before using the tent |
Expert Tip: When sealing seams, pay extra attention to high-stress areas like the rainfly attachment points.
4. Quick Fix #2: Use a Ground Tarp
Protecting the floor of your tent is crucial for keeping dry. Groundwater can seep through the tent floor if not properly shielded. Follow these steps:
Planning a camping trip? Check essential camping items off your list. This checklist covers everything you need for a successful camping experience, including tips to keep your tent leak-free and you dry.
| Step | Action |
| Select a Ground Tarp | Choose a tarp slightly smaller than your tent |
| Clear the Area | Remove any rocks or debris from the tent site |
| Lay the Ground Tarp | Place the tarp under your tent |
| Secure It | Use rocks or tent stakes to hold it in place |
Expert Tip: Make sure the tarp isn’t poking out from under the tent, as this can channel rainwater into your shelter.
5. Quick Fix #3: Rainfly Installation
Many tents come with rainflies, but their effectiveness depends on proper installation. Here’s what you should do:
| Step | Action |
| Attach the Rainfly | Make sure it’s securely attached to the tent |
| Tension Adjustment | Ensure it’s taut but not overly tight |
| Overlapping | Ensure it adequately overlaps the tent body |
Expert Tip: Check the weather forecast before your trip to anticipate rain and attach the rainfly accordingly.
6. Quick Fix #4: Proper Tent Pitching

Even the best tents can leak if not pitched correctly. Follow these steps:
New to wilderness survival? Explore beginner’s guide to camping for vital insights. Learn essential skills and tricks, including expert advice on managing moisture in your tent, ensuring a dry shelter.
| Step | Action |
| Choose a Good Site | Look for high ground, if possible |
| Clear the Area | Remove sticks, stones, or any sharp objects |
| Stake It Down | Use tent stakes to secure the tent |
| Proper Tension | Ensure the rainfly and body are taut |
Expert Tip: Practice pitching your tent at home before your camping trip to become a pro.
7. Quick Fix #5: Waterproofing Sprays
You can enhance your tent’s waterproofing using specialized sprays. Here’s how:
| Step | Action |
| Choose the Right Spray | Select a spray designed for your tent |
| Clean the Tent | Ensure it’s free from dirt and grime |
| Apply the Spray | Follow the manufacturer’s instructions |
| Dry Completely | Allow it to dry thoroughly before use |
Expert Tip: Pay attention to the type of fabric your tent is made of, as different materials may require specific waterproofing sprays.
Urban environments pose unique challenges, urban survival tips can be a lifesaver. This beginner’s guide covers various aspects of urban survival, offering valuable information on staying dry during emergencies in the city.
8. Quick Fix #6: Choosing the Right Campsite
Your campsite selection can greatly affect your tent’s dryness. Here’s what you should consider:
| Factor | Consideration |
| Elevation | Higher ground reduces the risk of flooding |
| Drainage | Avoid areas prone to water pooling |
| Natural Windbreaks | Trees or natural barriers can shield from rain |
| Weather Forecast | Check for incoming storms or heavy rain |
Expert Tip: If you’re uncertain about the campsite’s drainage, dig a small trench around your tent to divert water away.
Combat hypothermia effectively with hypothermia prevention techniques. Learn to recognize signs and address them promptly. Staying dry is crucial; this resource provides essential insights to help you stay warm and dry in adverse conditions.
9. Quick Fix #7: Regular Maintenance
Tents need ongoing care to remain waterproof. Here’s what you should do:
| Task | Frequency |
| Seam Check | Before every trip |
| Clean After Each Trip | After every use |
| Reapply Waterproofing | Annually or as needed |
| Storage | Store dry and clean |
Expert Tip: Always air-dry your tent thoroughly before storing it to prevent mold and mildew growth.
10. Quick Fix #8: Emergency Repairs
Sometimes, unexpected tears or holes can lead to leaks. Here’s how to handle them:
| Situation | Action |
| Minor Tear or Hole | Use a patch kit for quick fixes |
| Major Damage | Use duct tape or a tarp as a temporary solution |
| Contact the Manufacturer | For severe damage under warranty |
Expert Tip: Carry a patch kit and duct tape in your camping gear for quick, on-the-go repairs.
11. Quick Fix #9: Upgrading Your Tent
If all else fails, consider investing in a higher-quality tent designed for your specific needs. Look for these features:
| Feature | Benefit |
| High-Quality Materials | Improved waterproofing and durability |
| Bathtub Floor Design | Enhanced protection against groundwater |
| Sealed Zippers | Prevents water from seeping through zippers |
| Adequate Ventilation | Reduces condensation and humidity inside |
Expert Tip: Research thoroughly before buying a new tent to ensure it meets your camping requirements.
12. Expert Tips for Staying Dry
As a seasoned camper, I’ve gathered some additional tips over the years to keep your camping experience as dry as possible:
Layer Your Sleeping Area: Use a ground tarp, an insulating pad, and a waterproof barrier under your sleeping bag to add extra protection.
Clothing Choices: Invest in moisture-wicking clothing and waterproof boots to keep yourself dry, even when outside your tent.
Tent Placement: If you expect heavy rain, consider setting up a rain tarp or canopy over your tent entrance to create a dry area for gear and changing.
Rainy-Day Activities: Plan for indoor activities or games during wet weather to avoid cabin fever.
Stay Elevated: Elevate your gear off the tent floor by using gear lofts or hanging storage to prevent contact with any condensation that may accumulate.
Learn from Experience: After each camping trip, evaluate what worked and what didn’t, and make necessary adjustments to your gear and methods.
13. Common Myths About Tent Waterproofing
There are some misconceptions out there about keeping your tent dry. Let’s dispel a few of them:
| Myth | Reality |
| “Waterproof Means Immune to Water” | Even the best waterproof gear can’t withstand extreme conditions. |
| “Tents Are Forever Waterproof” | Tents degrade over time, and you may need to reapply waterproofing. |
| “Condensation Is a Leak” | Condensation is a common occurrence and not necessarily a leak. |
| “All Tents Are Equal” | Different tents have different levels of waterproofing. |
14. Conclusion
In the world of camping, staying dry is essential for a comfortable and safe experience. By understanding the common causes of tent leaks and employing these quick fixes, you can significantly improve your chances of enjoying a dry night under the stars.
Remember, preparation is key, and with the right knowledge and gear, you’ll be well-equipped to face whatever Mother Nature throws your way. So, go out there, explore the great outdoors, and stay dry!
Further Reading
- Five Causes and Solutions to Leaky Tents: Explore the common causes of tent leaks and effective solutions to keep your camping experience dry and enjoyable.
- Fix a Leaking Tent: Learn practical tips and step-by-step instructions for fixing a leaking tent, ensuring a comfortable camping adventure.
- Why Does a Tent Leak: Causes, Fixes, Prevention: Discover the reasons behind tent leaks, preventive measures, and solutions to tackle this common camping challenge.
FAQs
What are the main causes of tent leaks?
Tent leaks can occur due to poorly sealed seams, fabric degradation, inadequate rainfly attachment, or site selection in low-lying areas.
How can I fix a leaking tent seam?
To fix a leaking seam, clean the area, apply seam sealant, and ensure it dries completely before use.
Is condensation inside the tent a sign of a leak?
No, condensation is caused by temperature differences and is not necessarily a sign of a tent leak.
What can I do to prevent tent leaks?
Regular maintenance, proper tent pitching, using a ground tarp, and selecting an elevated campsite can help prevent tent leaks.
When should I consider upgrading my tent?
Consider upgrading your tent when quick fixes and maintenance no longer provide a waterproof solution, or when your camping needs change, requiring a more durable shelter.

Hi! I’m Hellen James, and I am the founder of Unified Survival. I have a deep passion for the wilderness and everything that goes along with it. I’ve been hiking since I was a child, and I grew up camping in state parks all over the country. But it wasn’t until recently that I learned how to survive in the wilderness.

